Account Setup Guide
Welcome to RadHIL, the premier AI-driven luxury rental management platform. This guide will walk you through the process of setting up your RadHIL account, ensuring you're ready to leverage our cutting-edge tools for your property portfolio.
1. Registration
To begin, visit https://radhil.com/register and follow these steps:
- Enter your email address and create a strong password
- Provide your full name and company name (if applicable)
- Select your account type: Individual Host or Property Management Company
- Accept the terms of service and privacy policy
- Click "Create Account"
You'll receive a verification email. Click the link to confirm your email address.
2. Complete Your Profile
After verifying your email, log in to your account and complete your profile:
- Upload a profile picture or company logo
- Add your phone number for two-factor authentication
- Set your time zone and preferred language
- Specify your property locations (cities/regions)
3. Subscription Selection
Choose the RadHIL subscription plan that best fits your needs:
- Starter: For individual hosts with up to 5 properties
- Professional: For small to medium property management companies (up to 50 properties)
- Enterprise: For large property management companies (50+ properties)
Each plan offers different features and levels of AI-driven insights. You can upgrade or downgrade your plan at any time.
4. Payment Information
To activate your subscription:
- Go to the Billing section in your account settings
- Choose your preferred payment method (credit card, PayPal, or bank transfer for Enterprise plans)
- Enter your payment details
- Review and confirm your subscription details
5. Two-Factor Authentication
We strongly recommend enabling two-factor authentication (2FA) for enhanced security:
- Go to Account Security in your settings
- Click "Enable 2FA"
- Choose between SMS or authenticator app method
- Follow the prompts to complete the setup
6. Customize Notification Preferences
Set up your notification preferences to stay informed about your properties:
- Booking notifications
- Guest messages
- Maintenance alerts
- Financial reports
- System updates and new features
7. Explore the Dashboard
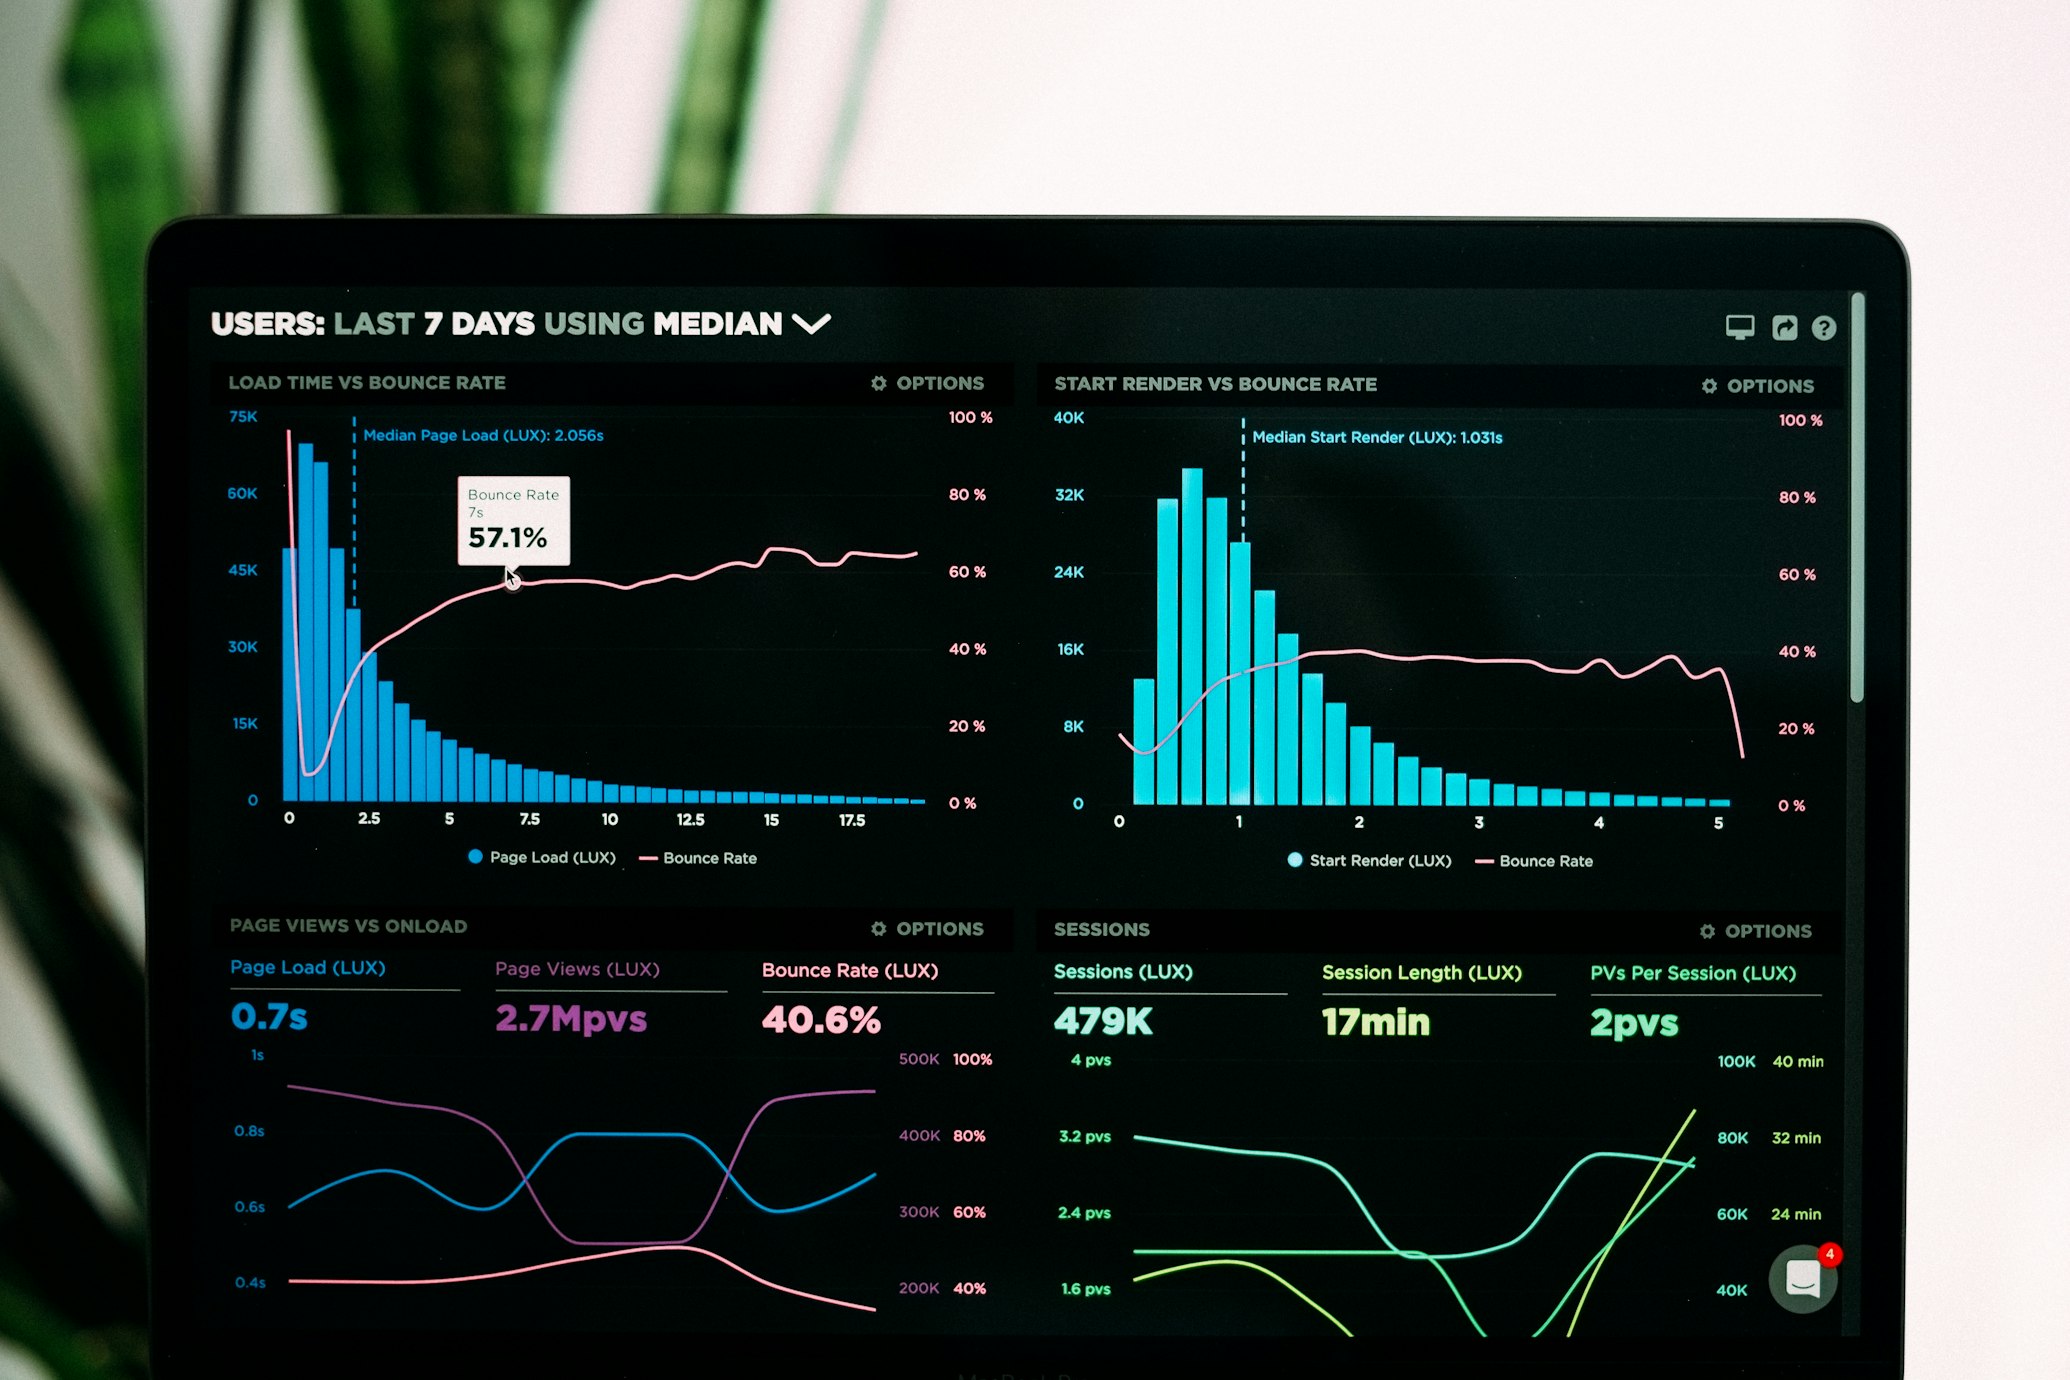
Take a tour of your RadHIL dashboard to familiarize yourself with the layout and key features:
- Property overview
- Booking calendar
- Financial snapshot
- Guest communication center
- AI-driven insights and recommendations
Next Steps
Now that your account is set up, you're ready to start adding your properties. Head over to our Property Onboarding Guide to learn how to input your property details and connect to various booking channels.
If you have any questions during the account setup process, don't hesitate to reach out to our support team at [email protected] or use the live chat feature in the bottom right corner of your dashboard.
